A kitchen remodeling checklist helps you organize decisions before construction begins and keep track of the details as work moves forward. It should cover your goals, budget, layout, materials, appliance specifications, schedule, household preparation, and final inspection.
Use this checklist during conversations with your design and installation team. Mark an item complete only when the decision is clear, the right person has confirmed it, and any important details are recorded in writing.
Start With the Main Project Stages
You do not need to choose everything at your first meeting. However, some decisions affect later purchases and installation work. Organizing the project into stages helps you understand what needs attention next.
| Stage | Main Decisions | What You Should Have |
|---|---|---|
| Early planning | Goals, scope, spending limit, and household needs | A written list of priorities |
| Design | Layout, storage, appliances, lighting, and finishes | Reviewed drawings and product selections |
| Before construction | Quote, responsibilities, deliveries, approvals, and access | An agreed plan for starting work |
| During construction | Progress, questions, changes, and upcoming decisions | Current records of approved work |
| Completion | Operation, finishes, remaining adjustments, and paperwork | A walkthrough record and handover documents |
1. Write Down What You Want to Improve
Begin with the problems you experience in the kitchen today. A clear description helps the design team suggest changes that address your routine rather than simply replacing old finishes.
For example, “we need somewhere to unload groceries” is more useful than “we want more space.” Include the features you like and want to keep.
- List your three biggest frustrations with the current kitchen.
- Identify damaged items that need assessment or repair.
- Describe who cooks and how many people use the room together.
- List storage, preparation, seating, and cleaning needs.
- Separate essential improvements from optional upgrades.
- Record which cabinets, appliances, or finishes you hope to retain.
Keep this list available throughout your kitchen remodel. It gives you a simple way to judge whether a proposed feature helps achieve your goals.
2. Set a Complete Project Budget
Your kitchen remodeling budget should include more than the construction quote. Products you buy yourself, delivery charges, temporary meal arrangements, and unexpected repairs can also affect the total.
Ask what is included before assigning money to each category. An appliance or installation charge already covered in the quote should not appear again as a separate expense.
| Budget Category | What to Confirm | Amount to Record |
|---|---|---|
| Quoted work | Materials, labor, removal, and installation included | Agreed quote total |
| Separate purchases | Appliances, fixtures, or accessories you will supply | Product and delivery costs |
| Other project charges | Design, permits, taxes, or services excluded from the quote | Confirmed additional charges |
| Household expenses | Extra meals, storage, or temporary accommodation if needed | Your household allowance |
| Unexpected work | Money kept available for issues discovered during construction | Your planned reserve |
- Set a spending limit you are comfortable with.
- Request separate prices for optional features.
- Check allowances for products not yet selected.
- Confirm how delivery, tax, and installation are charged.
- Agree on how changes will be priced and approved.
3. Review Measurements and the Proposed Layout
Accurate measurements connect the design to the actual room. Cabinet openings, windows, doors, appliance handles, and nearby furniture can all affect whether the arrangement works.
Have the team responsible for ordering and installation verify the measurements. A rough sketch is useful for discussion, but it should not replace the checks needed for purchasing products.
- Review wall lengths, ceiling heights, windows, and door openings.
- Identify existing plumbing, electrical, and ventilation locations.
- Confirm what structural assessment is needed for proposed wall changes.
- Check movement with appliance doors and drawers open.
- Review seating with chairs or stools pulled out.
- Confirm useful counter space near the areas where you prepare food.
- Check how the kitchen connects with adjoining rooms.
If a kitchen island makes movement difficult, compare a smaller island, peninsula, or layout without one. Choose the arrangement that improves the room rather than adding a feature only because it looks appealing.
4. Plan Cabinet Storage Around Your Belongings
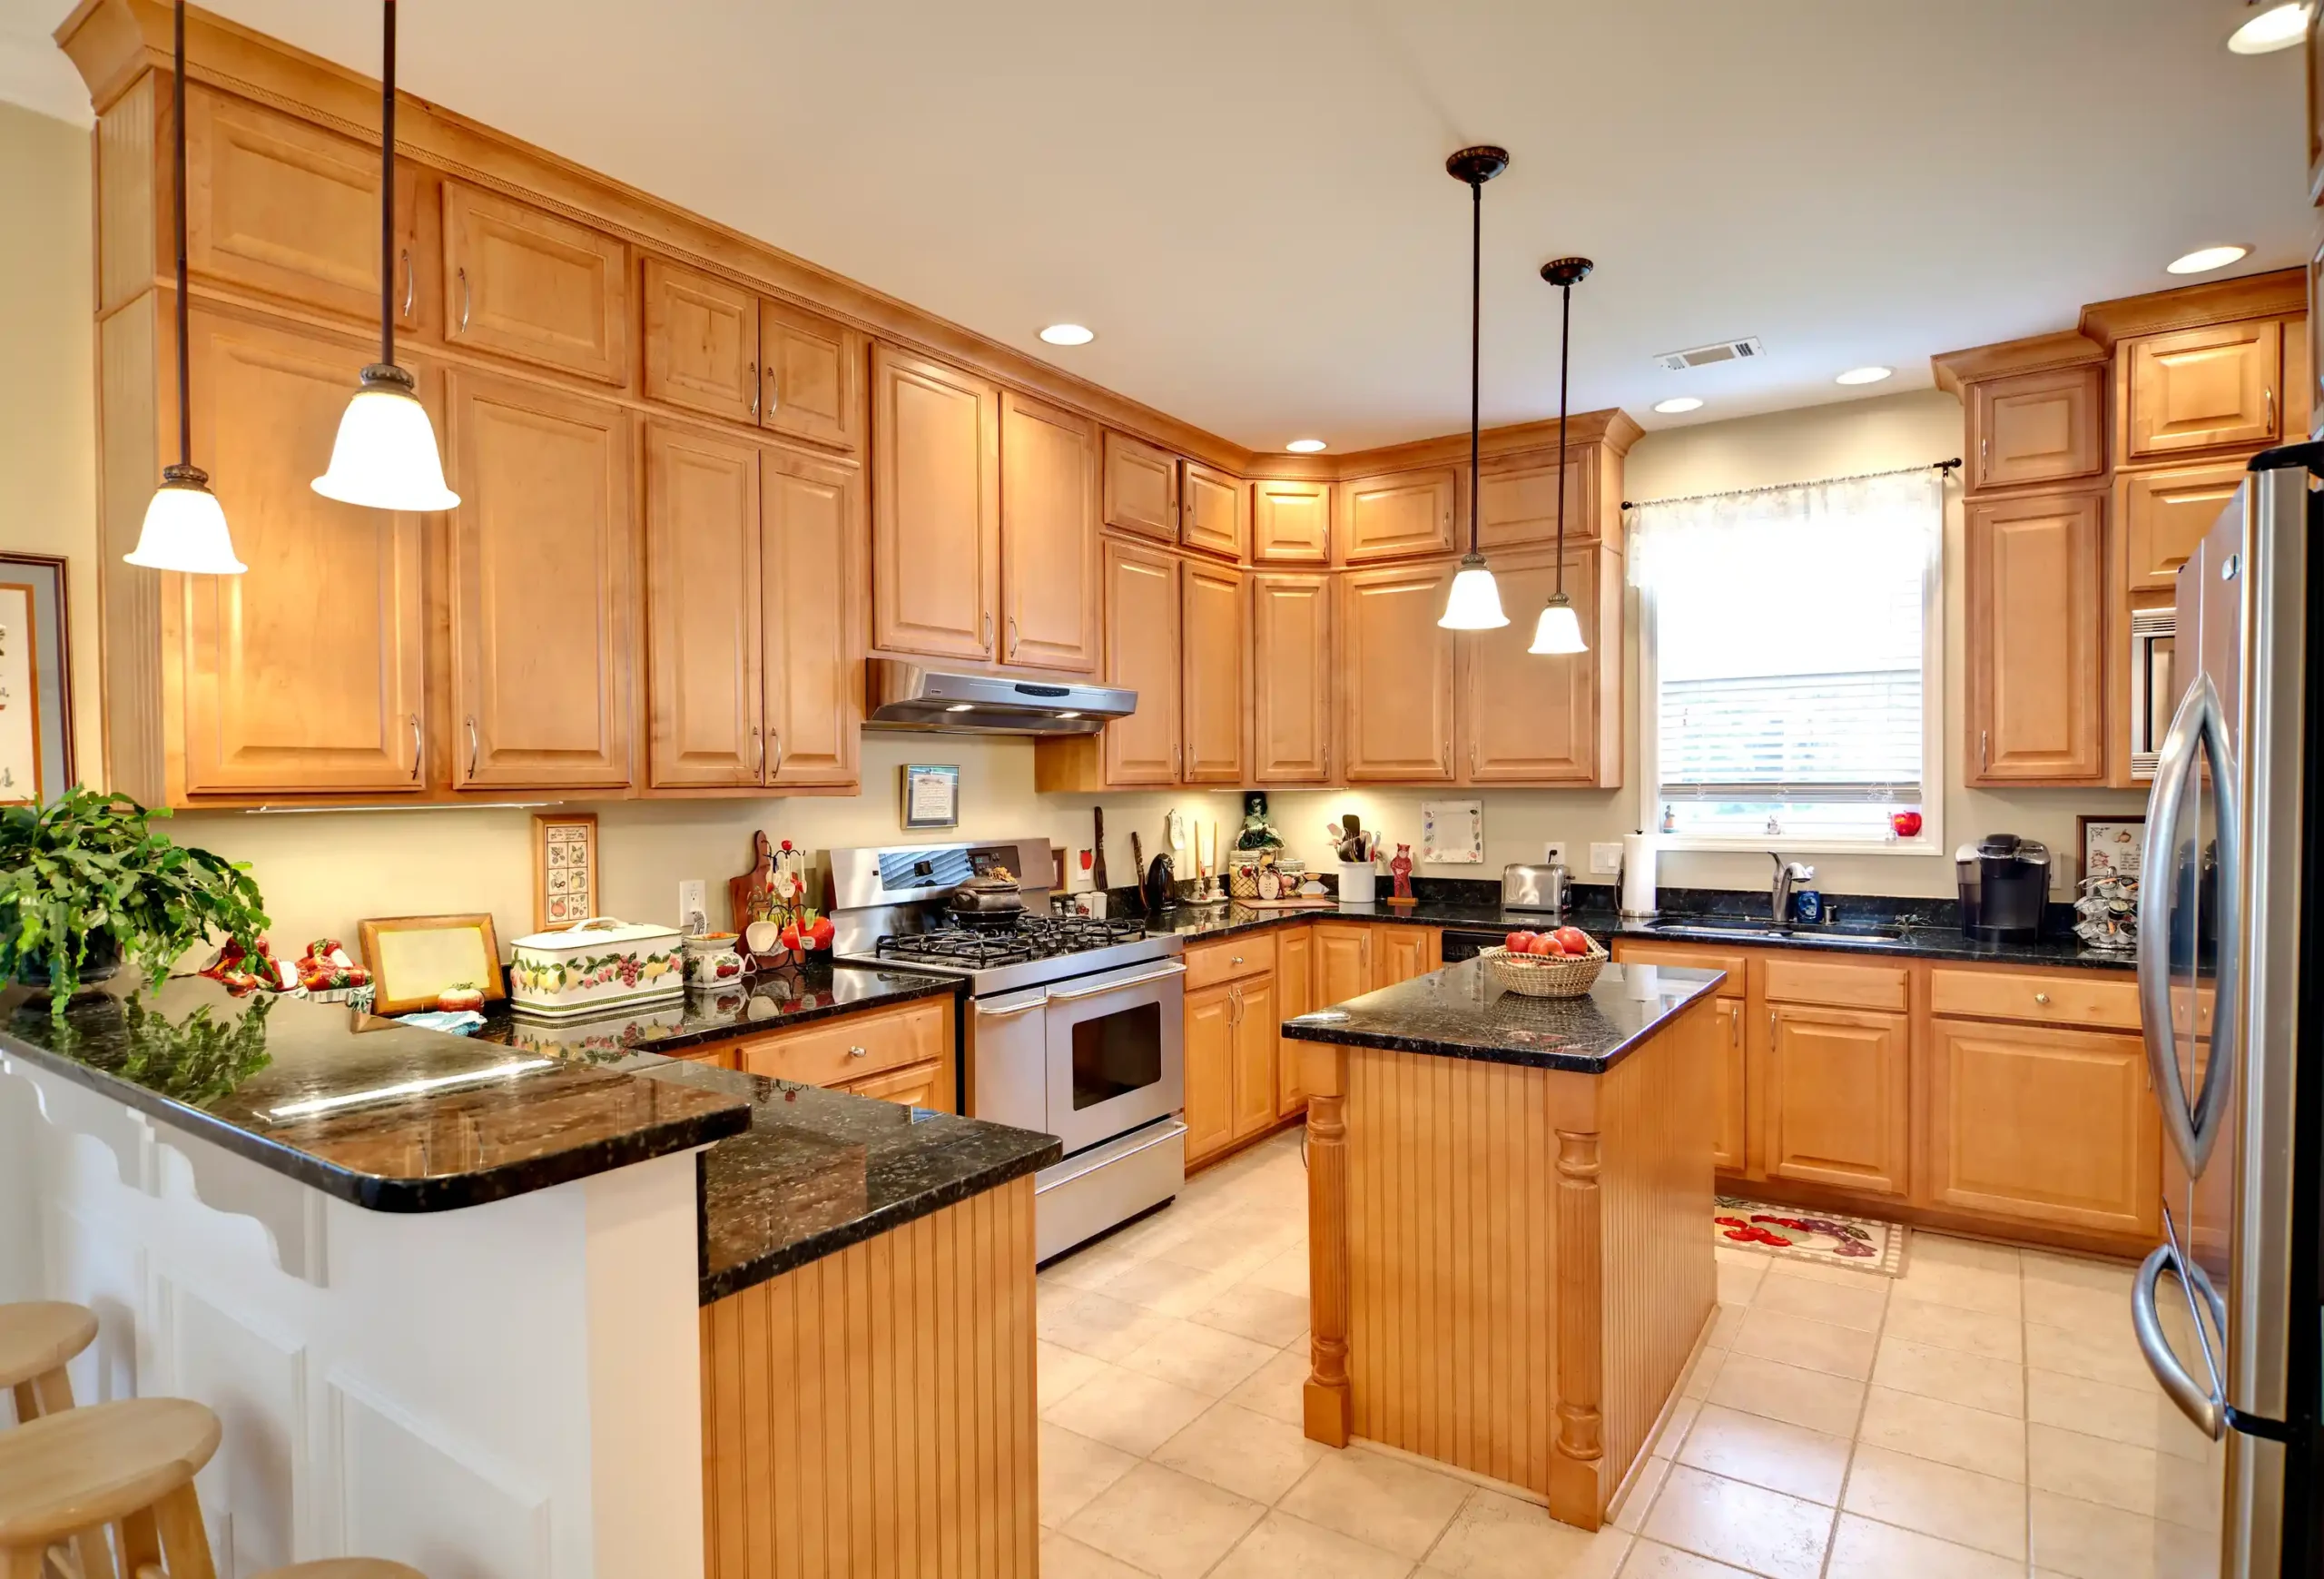
Cabinet style is only part of the decision. The storage inside should fit your cookware, dishes, food supplies, and small appliances.
Before kitchen cabinet installation, measure bulky items and decide where frequently used belongings should go. This can reveal whether a drawer, shelf, divider, or different cabinet size would be more useful.
- List the items that currently crowd your counters.
- Measure large pots, mixers, trays, and serving pieces.
- Check usable drawer and shelf dimensions.
- Review pantry access and visibility.
- Choose locations for waste, recycling, and cleaning supplies.
- Try handles and opening systems where possible.
- Confirm cabinet finish, door style, hardware, and accessories in writing.
For enclosed appliance storage, distinguish between storing a product and operating it inside the cabinet. Follow the appliance manufacturer’s requirements for use, ventilation, and clearance.
5. Confirm Appliances Before Ordering Cabinets
Appliance model choices affect more than appearance. They can change cabinet openings, connections, ventilation arrangements, and the space needed for doors to open.
Record exact model numbers and provide installation information to the design team. If you later change a model, have the plan checked again before accepting the substitution.
- Select the refrigerator, cooking appliances, dishwasher, and microwave.
- Confirm installation dimensions and door movement.
- Review power, water, drainage, and ventilation needs.
- Check the delivery route into the home.
- Confirm panels and hardware for panel-ready appliances.
- Agree on who orders, receives, installs, and removes appliances.
- Check delivery dates and product availability.
6. Finalize Surfaces, Fixtures, and Lighting
Review your main finishes together before placing orders. A cabinet sample, countertop sample, flooring sample, and backsplash sample can help you see combinations that are difficult to judge separately.
Include maintenance and installation details in the discussion. A product should suit your daily use as well as the look you want.
Countertops and Backsplash
- Confirm the material, color, finish, and edge profile.
- Review sink and appliance cutouts.
- Discuss seam placement and final measurement requirements for countertop installation.
- Confirm backsplash height, pattern, grout, and finishing edges.
- Read cleaning and care instructions.
Flooring
- Confirm suitability for kitchen use and expected traffic.
- Review floor preparation and transitions to nearby rooms.
- Check how finished floor height affects doors and appliances.
- Agree on the flooring installation order based on the selected products.
Sink, Faucet, and Lighting
- Check sink size against the cabinet and countertop plan.
- Review faucet height and handle movement near windows or walls.
- Identify lighting needs at preparation and cleanup areas.
- Confirm fixture locations, switches, and compatible controls.
- Record model numbers and finish choices.
7. Check the Agreement and Project Responsibilities
Before approving the work, make sure the written agreement reflects the kitchen you have discussed. General descriptions can leave important details open to interpretation.
Keep the current drawings, product list, scope, and payment schedule together. Ask who will be your main contact and how questions will be handled.
- Review the company’s license, insurance, and previous remodeling projects.
- Confirm included work and exclusions.
- Check material allowances and how price differences are handled.
- Identify permit, inspection, and association approval responsibilities.
- Agree on payment stages and written change procedures.
- Review warranty terms, exclusions, and the service contact.
- Confirm responsibility for items supplied by the homeowner.
8. Make Sure the Project Is Ready for Demolition
A proposed start date should be checked against design decisions, product availability, approvals, and the construction plan. Ask the team which items must be ready before the existing kitchen is removed.
Not every product necessarily needs to be on site, but there should be a clear plan for anything still being supplied or fabricated.
- Approve the current layout and major selections.
- Confirm critical orders and expected deliveries.
- Resolve substitutions that affect dimensions or installation.
- Confirm required approvals and the inspection plan.
- Review the kitchen remodeling process, construction schedule, and likely service interruptions.
- Agree on protection for floors, nearby rooms, and retained items.
- Confirm demolition, disposal, and cleanup responsibilities.
9. Prepare Your Household for Limited Kitchen Access
Plan how you will store food, make simple meals, wash dishes, and manage waste while work is underway. Your temporary arrangement should be outside the construction area and suitable for the equipment you intend to use.
Discuss the household plan before the first workday, particularly if children, pets, or anyone with access needs will remain at home.
- Empty cabinets and label packed boxes.
- Keep essential dishes, utensils, and supplies accessible.
- Decide how refrigeration and drinking water will be available.
- Arrange meals around the expected loss of cooking facilities.
- Clear delivery and work routes.
- Confirm working hours, parking, and entry arrangements.
- Set boundaries that keep household members away from work areas.
10. Keep Decisions Organized During Construction
Regular communication helps you understand what has been completed and what needs your attention next. Agree on a suitable update schedule with the project contact.
If an unexpected issue appears, ask for an explanation of the proposed work and its effect on the price and schedule. Record approval before the change proceeds.
| Item to Record | Details to Include |
|---|---|
| Question or issue | What needs to be decided and why |
| Proposed solution | The exact work or product change |
| Cost | Added charge, credit, or confirmation of no price change |
| Schedule effect | Any change to ordering, installation, or completion |
| Approval | Who approved the decision and when |
Keep a running total of changes alongside the original budget. Save updated drawings and product information so older versions do not create confusion.
11. Complete a Detailed Final Walkthrough
Review the finished kitchen against the agreed scope and approved changes. Allow enough time to check how the room works, not only how it looks.
Make one written list of remaining adjustments. For each item, confirm who will handle it and when it is expected to be completed.
- Open cabinet doors and drawers and check for interference.
- Review hardware, finishes, trim, and visible installation details.
- Check countertops and backsplash against the agreed selections.
- Have fixtures, appliances, lighting, and controls demonstrated.
- Confirm required testing and inspections are complete.
- Review cleanup and removal of remaining project materials.
- Collect care instructions, warranties, and service contacts.
- Confirm the plan for outstanding work and follow-up questions.
Plan Your Kitchen With VCT Kitchen and Bath
A kitchen remodeling checklist gives you a clear record of what has been decided and what still needs attention. Used alongside professional measurements and a coordinated design, it can make the planning process easier to follow.
VCT Kitchen and Bath helps homeowners in Maryland communities plan kitchen layouts, cabinets, countertops, flooring, lighting, and installation. Schedule a free kitchen remodeling consultation and in-home estimate to discuss your priorities and prepare a plan for your kitchen.
Frequently Asked Questions
What Should Be Done First?
Define your priorities and spending limit, then have the existing room assessed. Those steps guide the layout and product choices that follow.
Should I Buy Appliances Before the Design Is Finished?
Select models early, but coordinate purchasing with the design and installation team. Confirm that the products fit the plan and that delivery, storage, and return arrangements are understood.
What If a Selected Product Is Unavailable?
Have the replacement reviewed before approving it. Differences in size, finish, installation requirements, or delivery dates may affect other parts of the project.
Can I Use This Checklist for a Small Kitchen?
Yes. Keep the items relevant to your project and mark the others as not applicable. A small kitchen remodel still benefits from careful measurements, storage planning, and clear purchasing decisions.